DIY Bathroom: Converting a Standard Track-House Bathroom into a Custom Modern Masterpiece
These past 5 weeks have been CRAZY to say the least and I cant believe that we are almost done with the bathroom that we have designed and remodeled!
Major props to my handy hubby, Alex, who has worked so hard these past 5 weeks to help turn my vision into a reality! This project has been so fun and we are THRILLED with how everything turned out so far. I am going to be sharing with you bathroom before and my product selections for the remodel! I teamed up with Home Depot to tackle this project.
When we moved into our house last June, everything was already picked out by the builder because we bought the house after everything was chosen. Even though everything was new, Alex and I weren’t crazy about the dark grey tile and the basic, bland vanity. We knew we wanted to re-do this bathroom and add our own touches to it. Bath time for Kennedy is the favorite part of our day, and it’s the time we both get to solely devote to Kennedy. We sing songs, work on her ABC’s, let her play, and just make lasting memories. Now since we have a little boy on the way, we wanted to get the bathroom done before he arrived!
When it came to the design for this bathroom, I went through several different ideas. Finally after sketching everything out and putting my different design styles together, we both agreed on a look we LOVED. We wanted something that both our girl and boy would enjoy- not too girly and not too masculine. I think how the bathroom turned out was a perfect mix of the two elements!
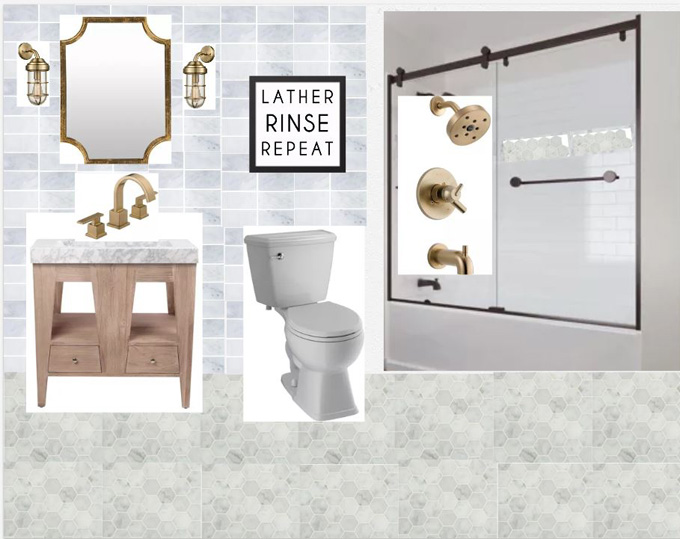
Here is the original design sketch I came up with before we started the remodel:
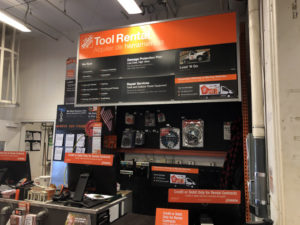
Home Depot Tool Rental
We went to our local Home Depot store to see the selection of products to get an idea of what we wanted to do. The staff is always super helpful, friendly, and super knowledgeable about every section in the store! For those that feel like you don’t have the right tool to do the project, a gem that was a lifesaver for us was The Home Depot Tool Rental! The staff was very patient and educated us on the proper tools for completing specific projects. The process of renting tools is simple and you can rent tools as short as 4 hours and as long as 4 weeks.
Tile Selection
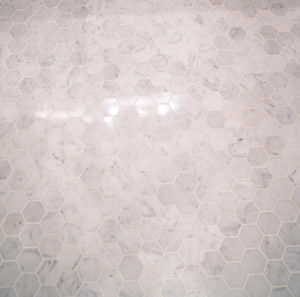
First thing we did was choose the tile we wanted! This was such an important decision and what we would base everything else off of. As you can see from my IG story highlights under “Home Depot”, I went in-store to check out their tile selection and see everything in person. And boy do they have an awesome tile selection. It was so hard to choose from all the amazing choices and colors, but we decided on carrara marble for both the tile wall backsplash and floor. We did a floor to ceiling carrara marble wall using the Jeffrey Court Carrara 3 in. x 6 in. Honed Marble Wall Tile. I think this tile wall makes such a statement and actually makes the space look so much larger! To mix up it up, we chose a fun hexagon carrara marble floor tile using the MSI
Carrara White Hexagon 12 in. x 12 in. x 10mm Polished Marble Mesh-Mounted Mosaic Floor and Wall Tile! I think the hexagon tile is so fun for bathroom floors and shower inlays. For the tile in the shower in-lay we choose the Jeffrey Court Whisper Valley 11 in. x 12.687 in. x 6 mm Porcelain Mosaic Tile.
Vanity
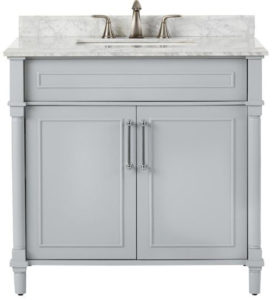
The first vanity from my original sketch ended up not working out. The back was too low for our sink pipes. I was super bummed but ended up finding another amazing vanity! When choosing a vanity there were so many amazing options available at Home Depot! I wanted something that would tie in with the color scheme and go with the tile. We found this gorgeous grey vanity with a carrara marble top and immediately had to have it for the bathroom. The grey vanity and light grey carrara marble tile really tie together beautifully. Since those two elements of the bathroom remodel were more glam, I knew I needed to add some more masculine, modern elements into the bathroom design.
Mixing Metals
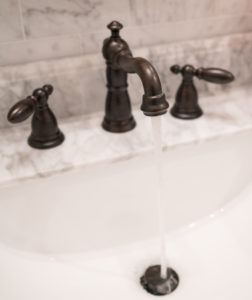
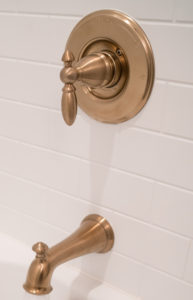
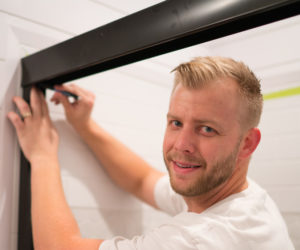
I loved the idea of mixing metals, so I decided to mix brass and bronze throughout the bathroom. We got this Delta Victorian bathroom faucet in bronze, as well as this glass shower door frame. The mirror, vanity light, shower faucet, and other bathroom accessories are all brass. FYI the pulls the vanity came with were originally silver, but we used a little DIY skills and used this spray paint to paint them bronze to match our sink faucet. Also, just a reminder to prime the pulls before you spray them!
Shower System
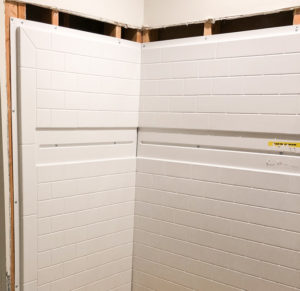
For the shower, we wanted to choose a product that was not only budget friendly but also something that fit the modern look of the bathroom. We found the Delta UpStile Wall System and couldn’t believe this product existed! It is a three-piece shower wall system that lays on top of the tub. What really caught our eye was that it was semi-customizable with a tile inlay. It saved so much time and money. It is also super easy to clean and maintain, which was something we wanted for the kid’s bathroom.
Toilet
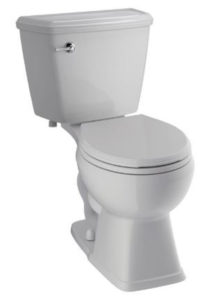
An important item we didn’t want to skimp on was the toilet! The toilet the builder installed in our house was not our favorite, and not the best quality. We read tons of reviews over on Home Depot’s website, and finally went with the Delta Luxford 2-Piece Single Flush Round Front Toilet. We chose this toilet for the exclusive SmartFit tank-to-bowl connection, slow Close Seat helps to prevent slamming for a quiet close, it is backed by Delta Faucet’s Limited Warranty, the no slip seat bumpers keep the seat from shifting, and the design is timeless and went great with our decor style.
Shiplap Shiplap Shiplap!
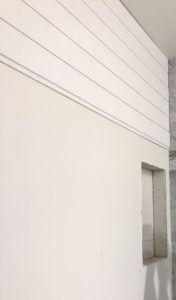
Finally, to really complete the bathroom I wanted to mix the glam with some modern, and decided it would be so cool to add my favorite wall decor- shiplap! I love shiplap and think it is a perfect addition for bathrooms, accent walls, fireplaces, etc. It was actually Alex’s idea, and I was so happy he came up with such an idea. We got this Arauco 9/16 in. x 5-1/4 in. x 8 ft. Primed Pine Nickel Gap Shiplap Board. This shiplap is easier than the traditional shiplap because it is pre-cut and pre-primed shiplap, so it cut the install and prep work time in half. We also took out the medicine cabinet, because they remind me of an old ‘90’s bathroom.
 Stay Tuned for Reveal!
I can’t wait to complete the final touches of the bathroom and share everything we have done! My husband and I will put together our DIY journey and will be sharing it on The Home Depot Blog along with a video on my YouTube channel!


OMG I love this! I cant wait for your reveal!