Dumping the Carpet and Upgrading my Upstairs Flooring
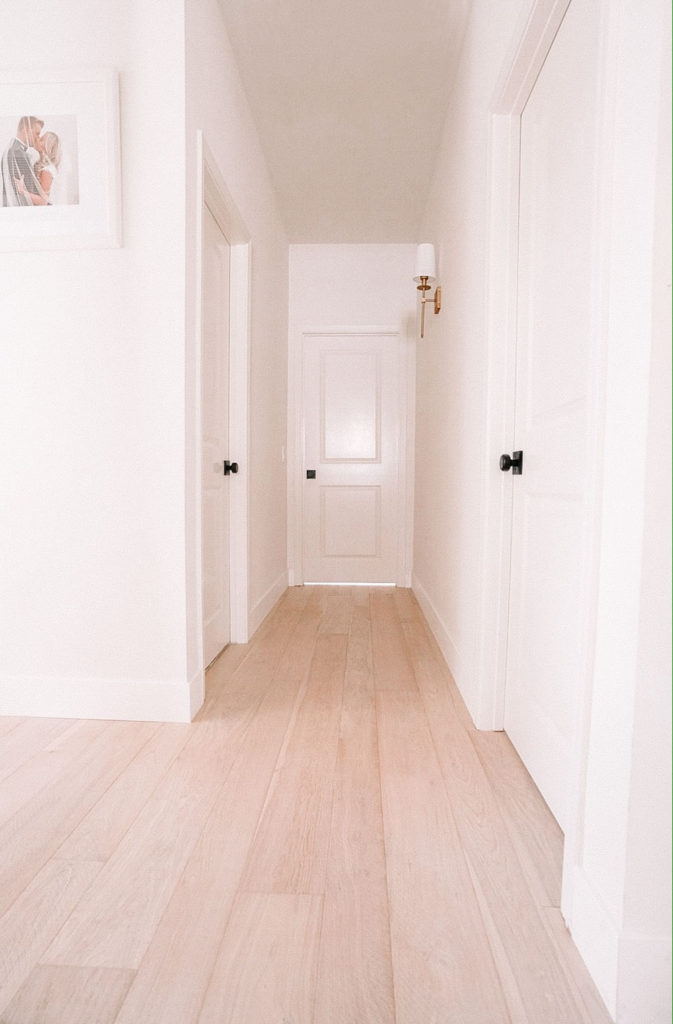
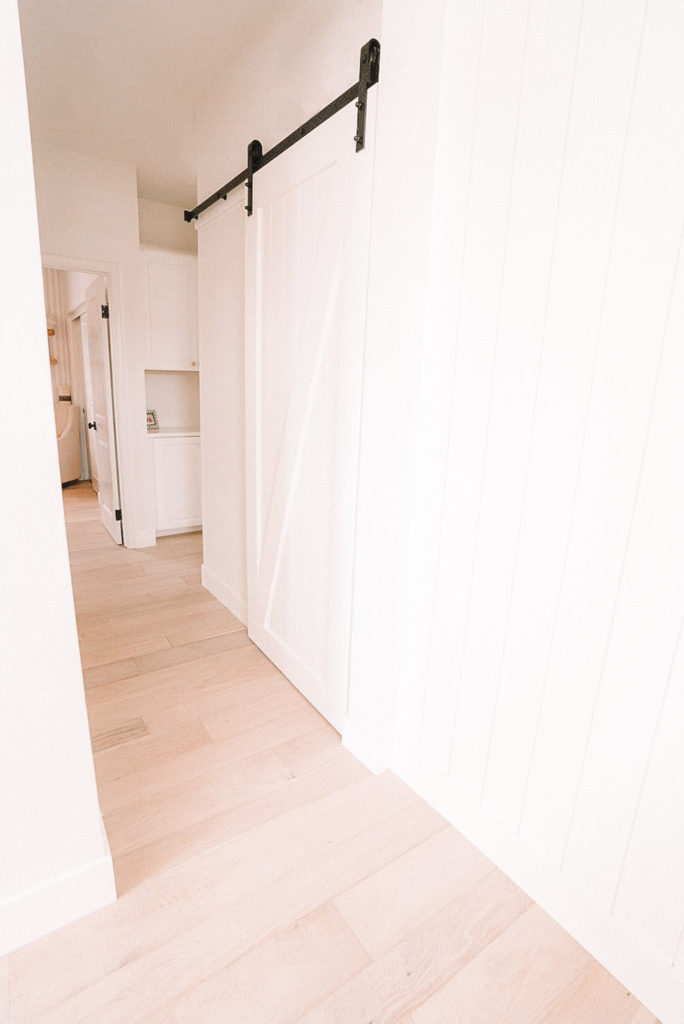
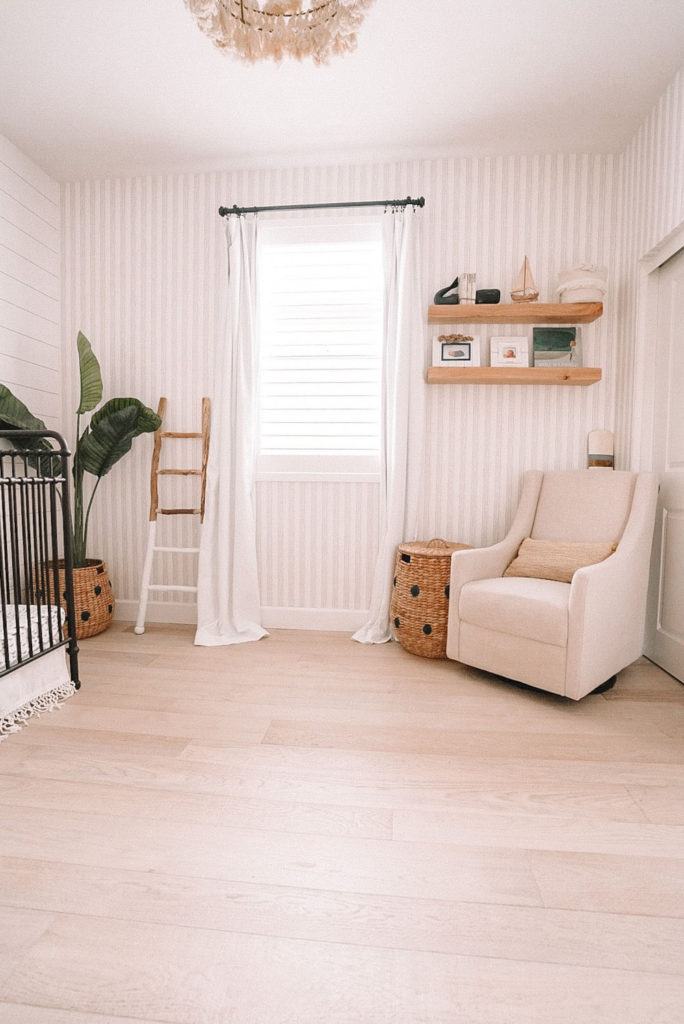
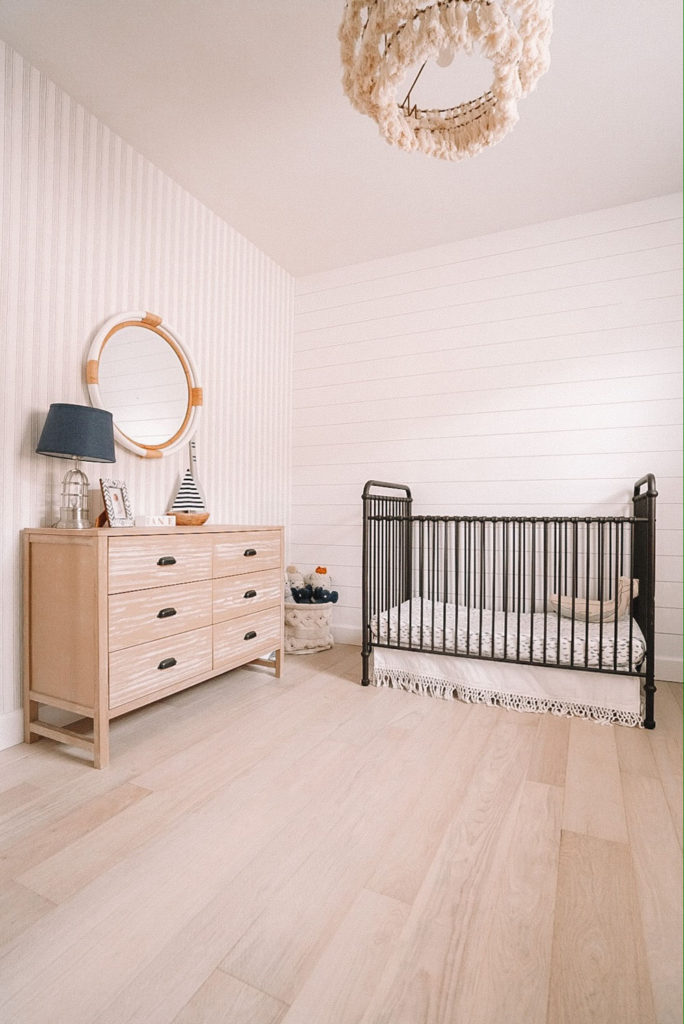
Sharing the new flooring we installed upstairs in our home with Home Depot!
*This post is sponsored by The Home Depot! All opinions are my own.
I’m so excited to finally share with you guys the flooring we installed upstairs! We installed brand new flooring all throughout the downstairs last year, and we couldn’t wait to do the upstairs as well. Also, with two cats and two little ones, you can only imagine what was embedded within our carpet! We have only been living in our home for two years and we already had stains throughout our carpet upstairs!
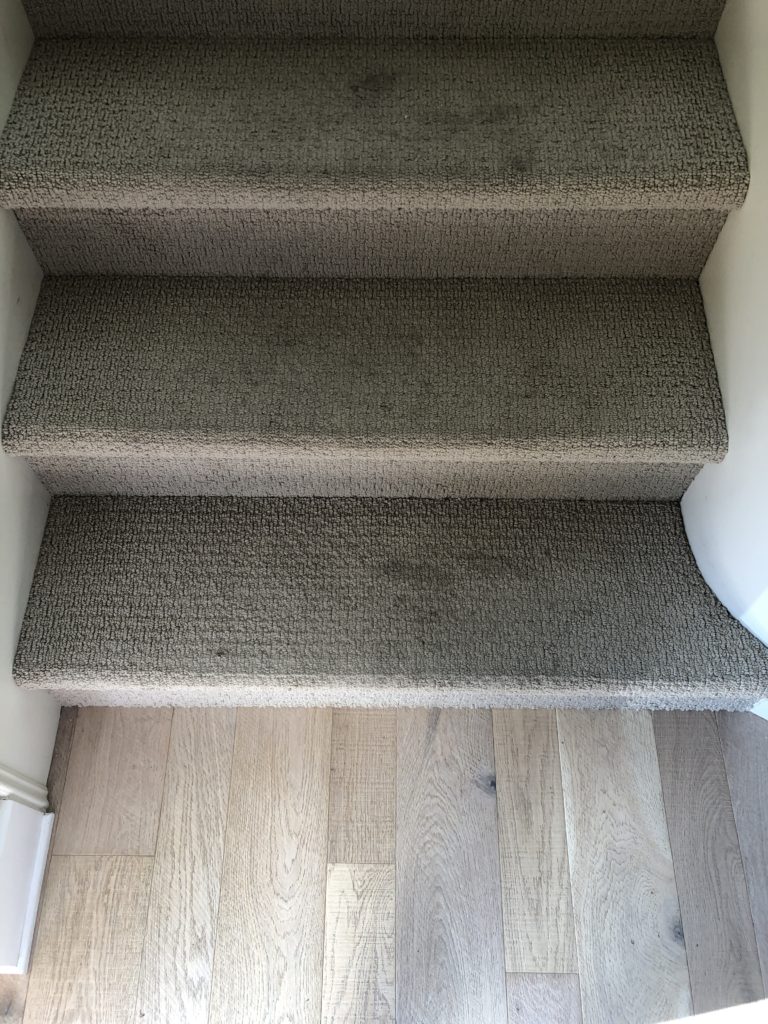
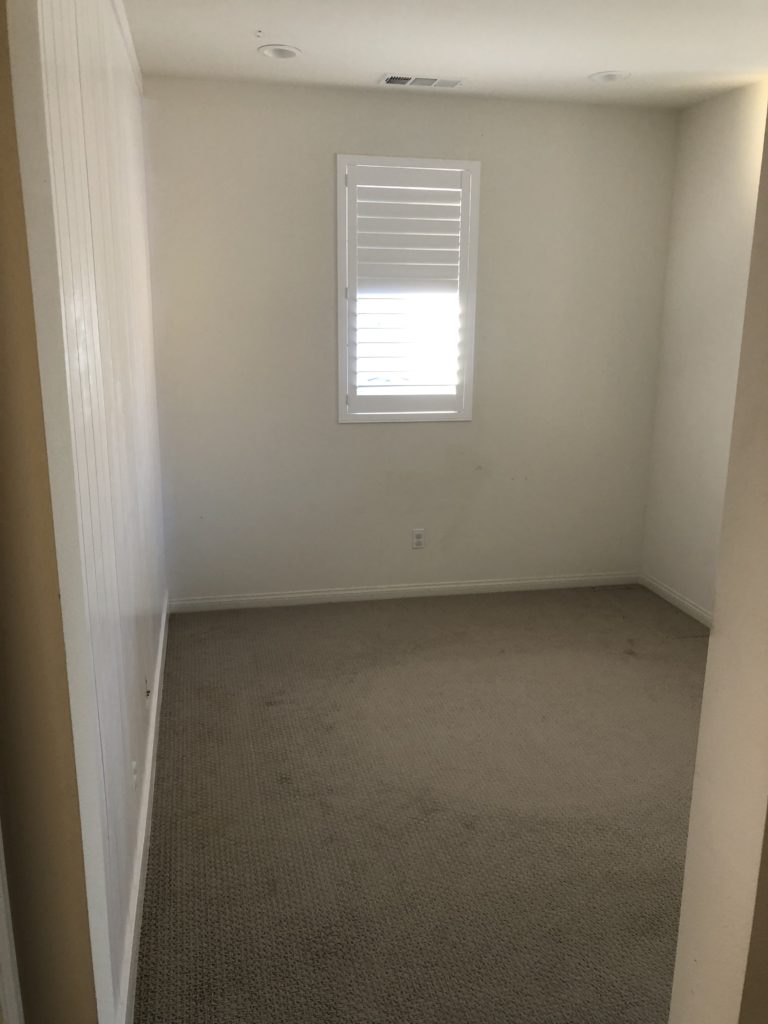
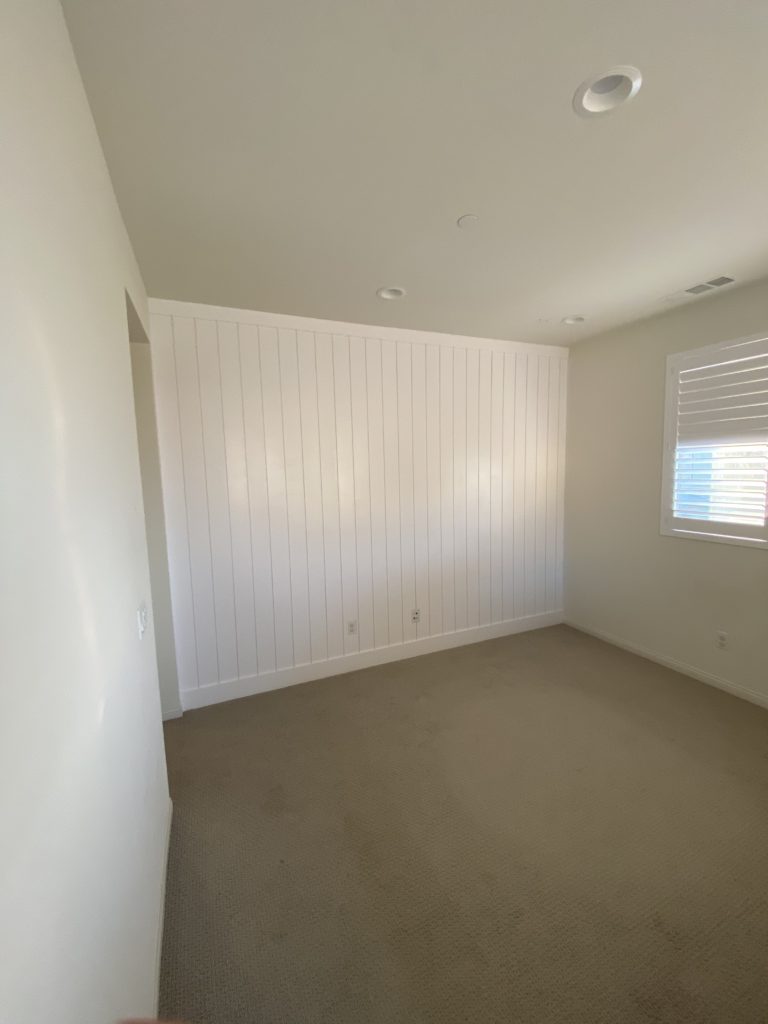
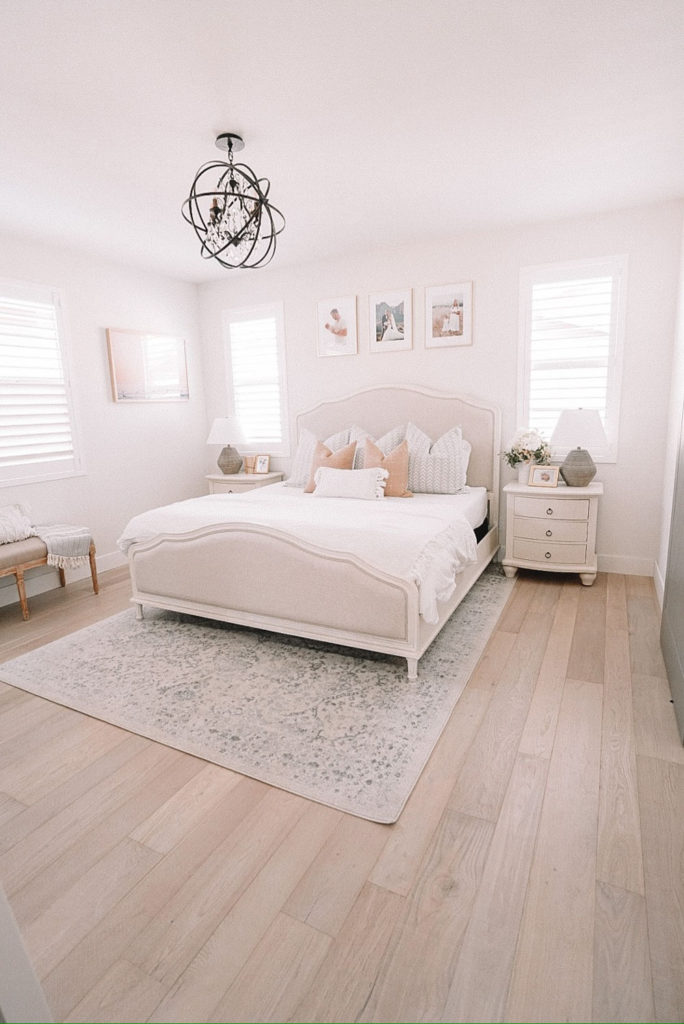
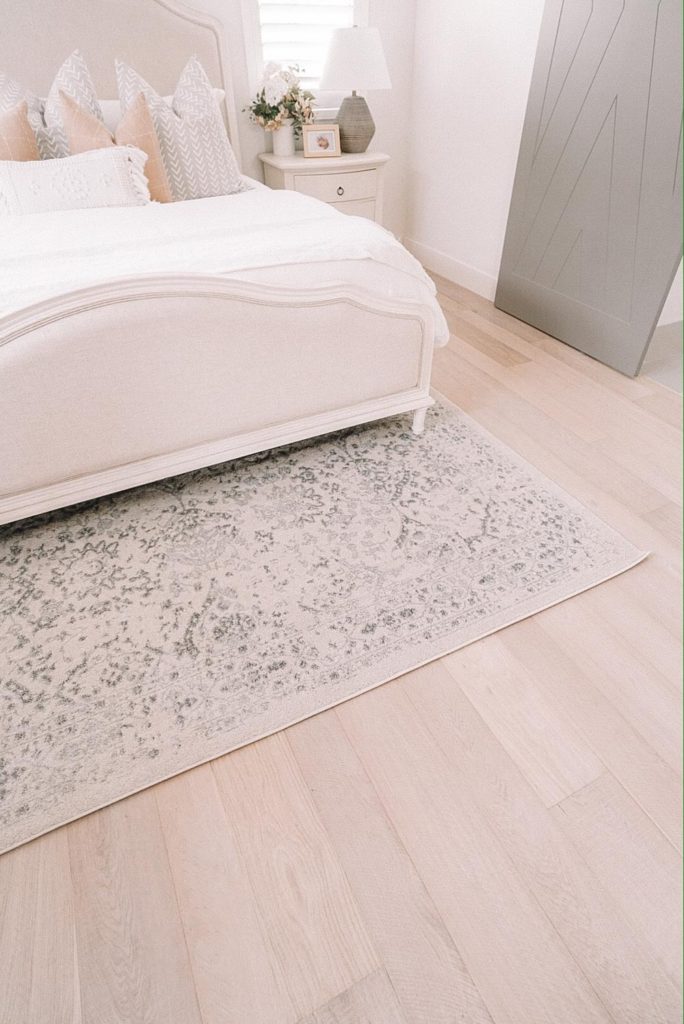
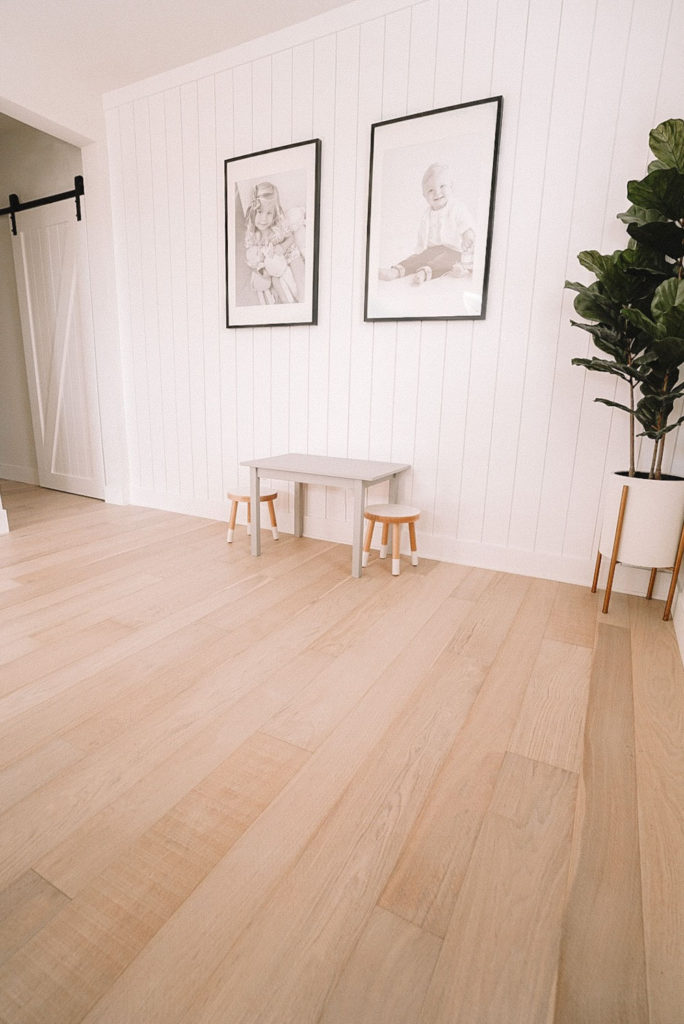
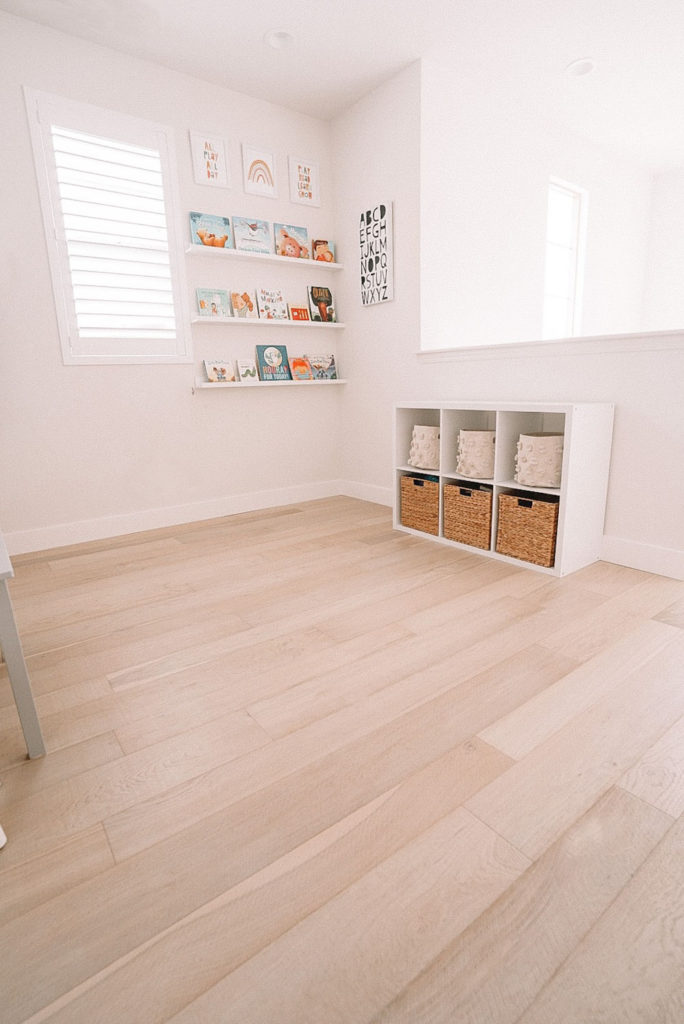
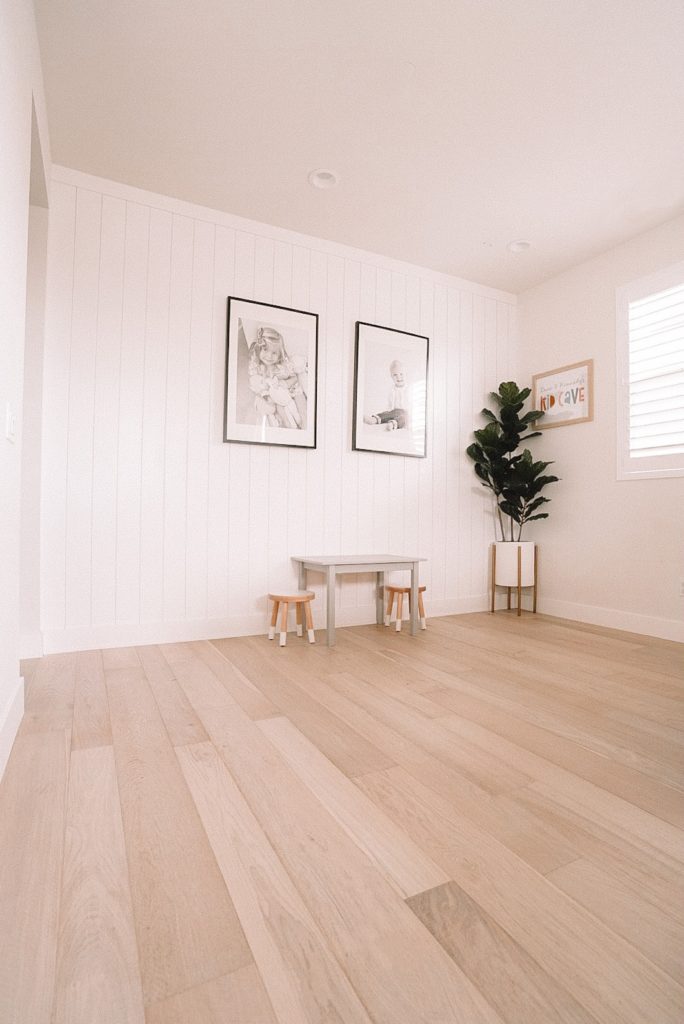
To get an idea of the type of flooring that would best fit my upstairs, I created multiple inspiration boards to narrow down the best options and colors. Next, I made a trip to my local Home Depot to pick up and compare multiple different samples. Comparing samples in person helped Alex and I rule out the ones that didn’t work and make a final decision. We ultimately decided that the upstairs would look the most cohesive with the rest of the house by installing the same flooring that we used downstairs. The name of this flooring is French Oak Santa Monica 1/2 in.T x 5 and 7 in. Wide x Varying Length Engineered Hardwood Flooring and it is made by the brand Malibu Wide Plank. The entire collection from this brand sold exclusively at The Home Depot, is near-custom multi-width hardwood floors. Each plank is meticulously sculpted and perfected by artisans to create that authentic, rustic, natural hardwood floor look. They use special tools to add distress to the surface of the wood, which adds visual appeal and makes each batch unique. The Malibu Wide Plank Reclaimed Series is available in Engineered Tongue and Groove, Engineered Click Lock, and Solid constructions.
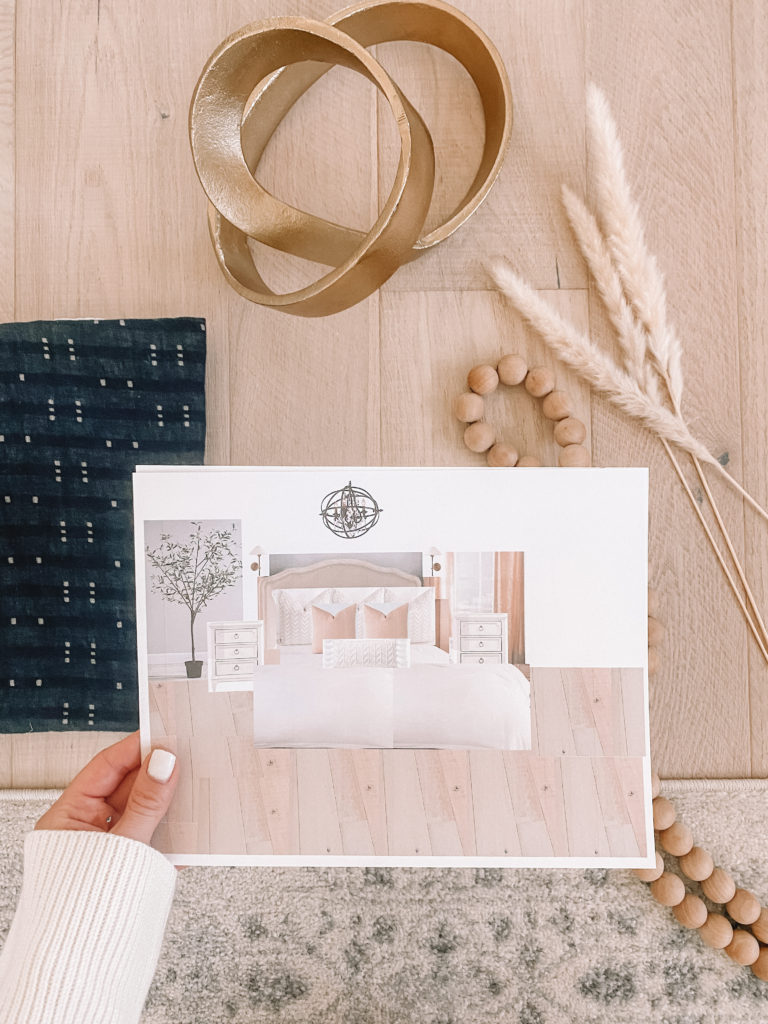
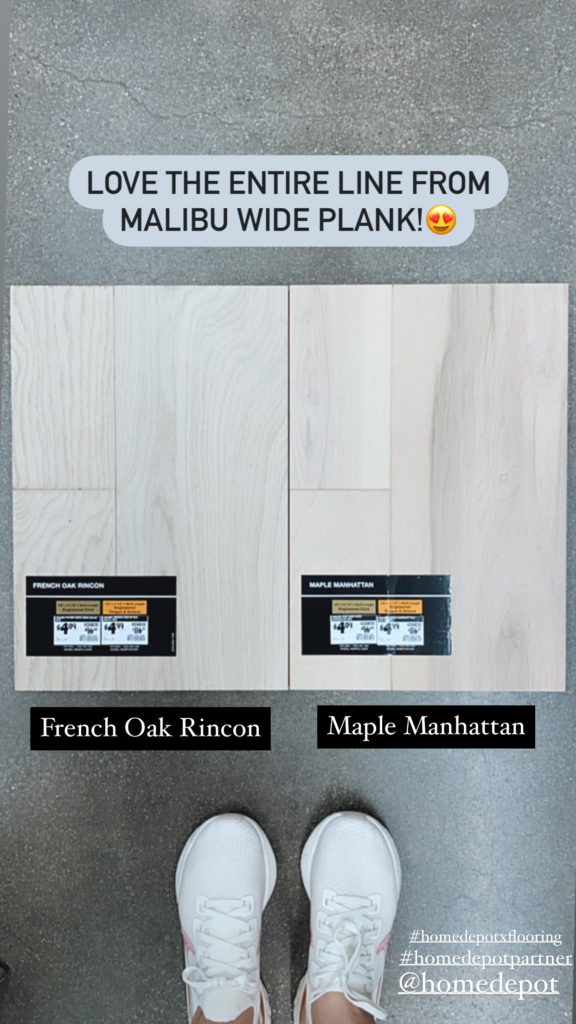
There are many reasons we decided to go with this flooring, but my top three are: (1) we love the light, modern look, (2) it was the most durable for kids and pets, and (3) we loved how easy it is to install. You can check out my first post about the downstairs flooring, and see photos as well! When we were deciding to replace the laminate flooring in our home, one thing we did was run through the pros and cons of engineered hardwood. You are probably asking yourself, why engineered hardwood versus real hardwood flooring?! The price difference isn’t much, but there are a lot of pros to choosing engineered hardwood, and I’m going to share them with you! We loved the distress in the wood making it realistic looking. Also, the varied lengths of the planks give the flooring more of that farmhouse feel. The layers underneath the top layer add additional support making the flooring more durable helping it withstand moisture, leaks and water damage. Lastly, as I mentioned above, the tongue and groove make it simple to install so if you are wanting to do the flooring yourself, it is very doable. These floors would definitely be a great upgraded feature when you decided to sell. It comes sanded, stained and sealed, but if you ever wanted to make a change, you are able to refinish it.
Some say that laminate is the best flooring for a growing family. Although laminate flooring is very durable, the main thing it lacks is the feel of real wood beneath your feet. Laminate flooring is made up of layers of fiberboard and is topped with a photographic image layer to look like hardwood. So, while engineered hardwood is real wood flooring, laminate only has the appearance of wood. Don’t get me wrong, there are some amazing looking laminate flooring options out there, but when you put it side by side with engineered hardwood, the quality is night and day with the real wood being more appealing. Engineered hardwood is generally considered just as good as solid hardwood, adding more value to your home. Lastly, to top everything off, Malibu Wide Plank floors from The Home Depot come with a lifetime residential finish and structural warranty, and have the highly coveted Floor Score certification.
Installation
Due to time constraints, we decided to hire a contractor to install the flooring for us, where he did the float method (other install options use glue or nails/staples). Alex has been super busy at work and has also been preparing for the CFA whenever he has free time. That said, Alex cant have a project done in the house without doing some of it himself. So he was able to rip up all the carpet upstairs himself and install the underlayment that goes underneath the flooring. He also installed the 5.5” baseboards once the flooring was installed.
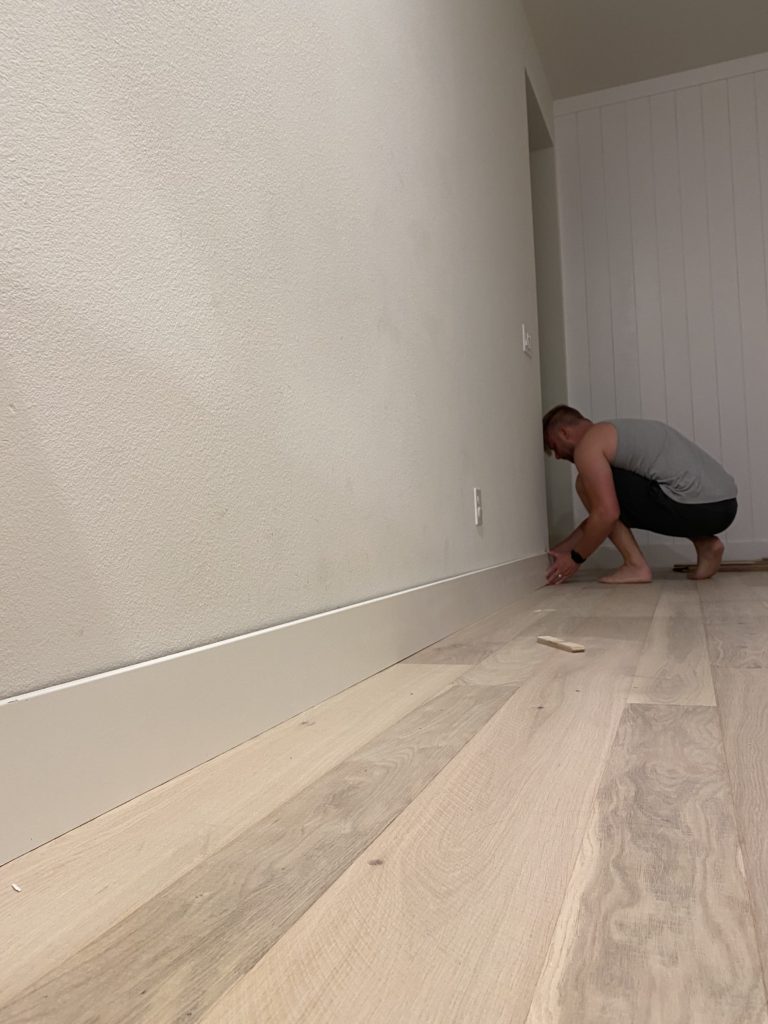
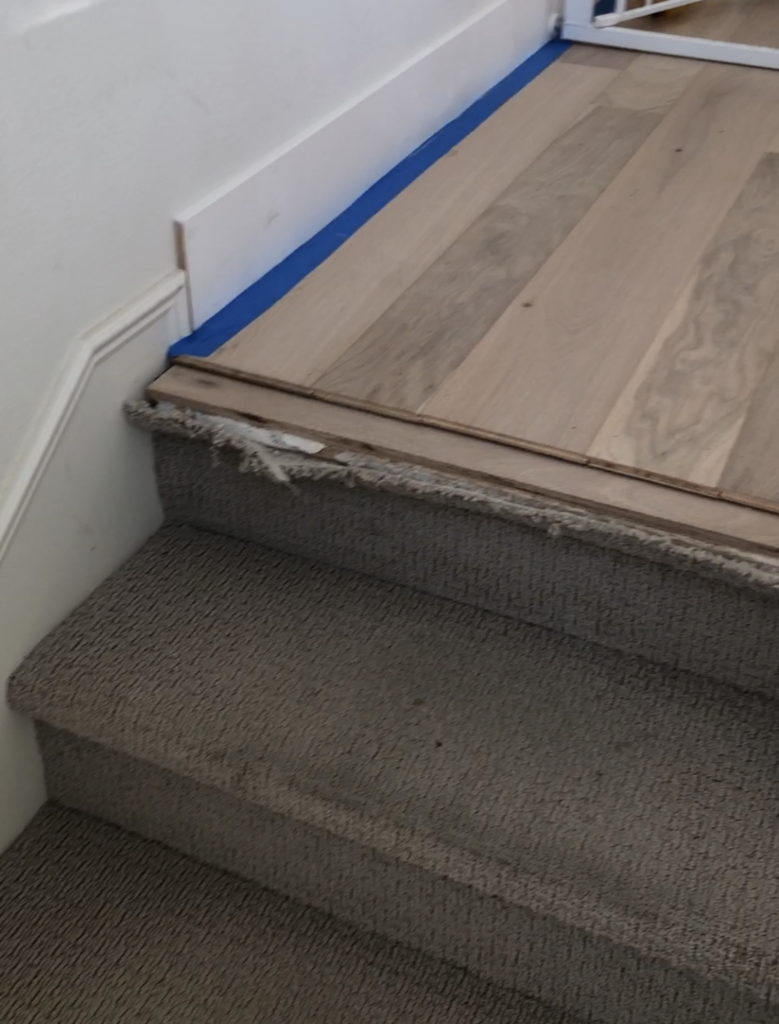
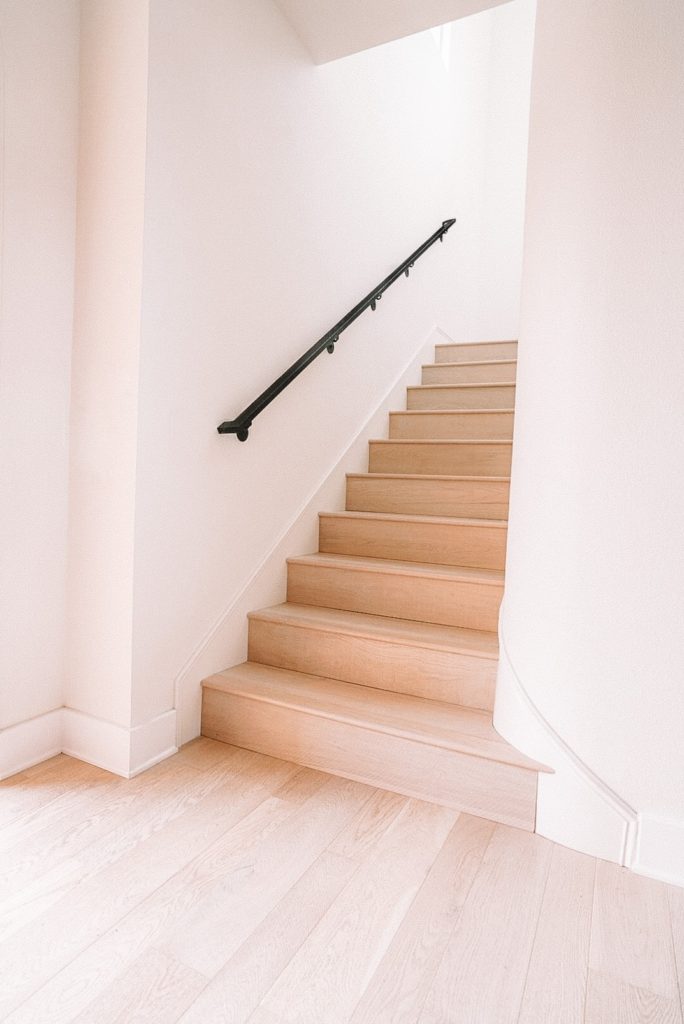
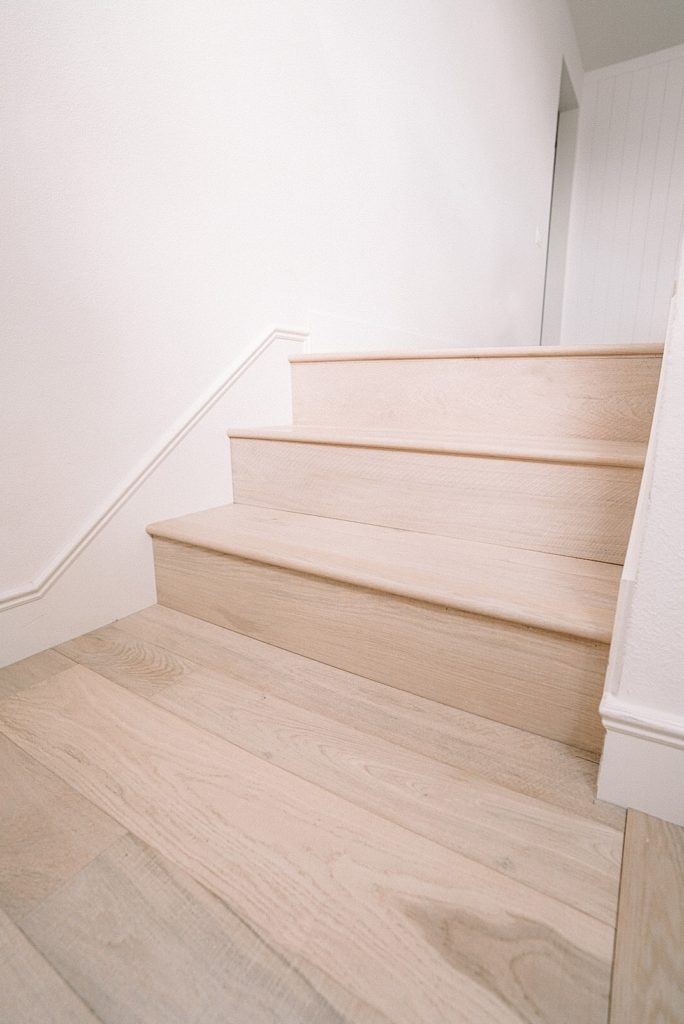
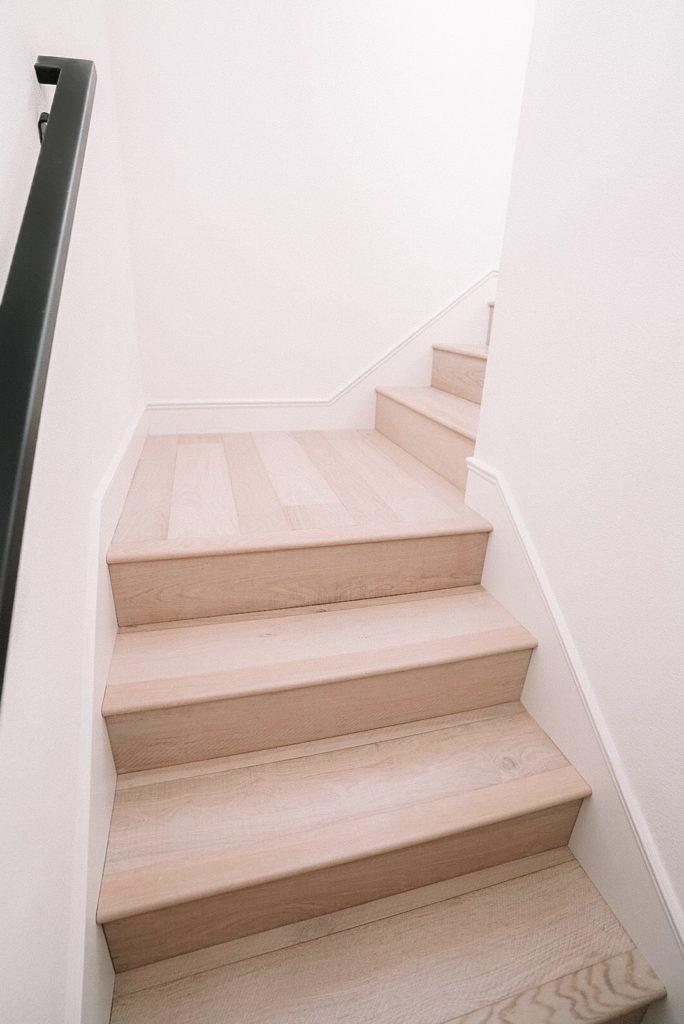
The process of installing the flooring was relatively smooth except when it came to the stairs. The stair nose molding was on backorder and it took a week longer than expected to receive. If you don’t know what the stair nose molding is, typically when installing wood stairs, you will need to order this molding separate from the flooring itself. It is also smart to order the nose from the same manufacturer to ensure a perfect color match.
So for the installation, we had the entire upstairs completed first then finished the stairs once the nose molding pieces were delivered. It took roughly 3 days to complete the upstairs, and 1 full day to complete the stairs.
Before taking on this project and installing the flooring, there are additional materials along with some tools that you will need to DIY this project.
Tools
• Tape measure • Tapping block (trimmed piece of flooring) • Pencil • Pry bar or pull bar • Chalk line • Crosscut power saw • Air stapler/nailer compatible with profile of the flooring material • 1 ½” – 2” nail, cleat, or staple that is compatible with the profile of the flooring material • Air compressor • Construction mastic for glue installation
Materials
• Underlayment pad to help protect the flooring from excessive moisture • Base Board – for hiding imperfections and adding a custom finish along any wall • Quarter-Round – for covering the expansion left at walls and other fixed surfaces. • Reducer Moldings – used to transition to lower floors • Stair Nosing – for finishing the exposed edges of stairs and landings • T-Expansion – for joining two areas of flooring of similar heights • End Cap – for finishing the space at sliding glass doors, at bathtubs or transitioning to carpet.
Final Product
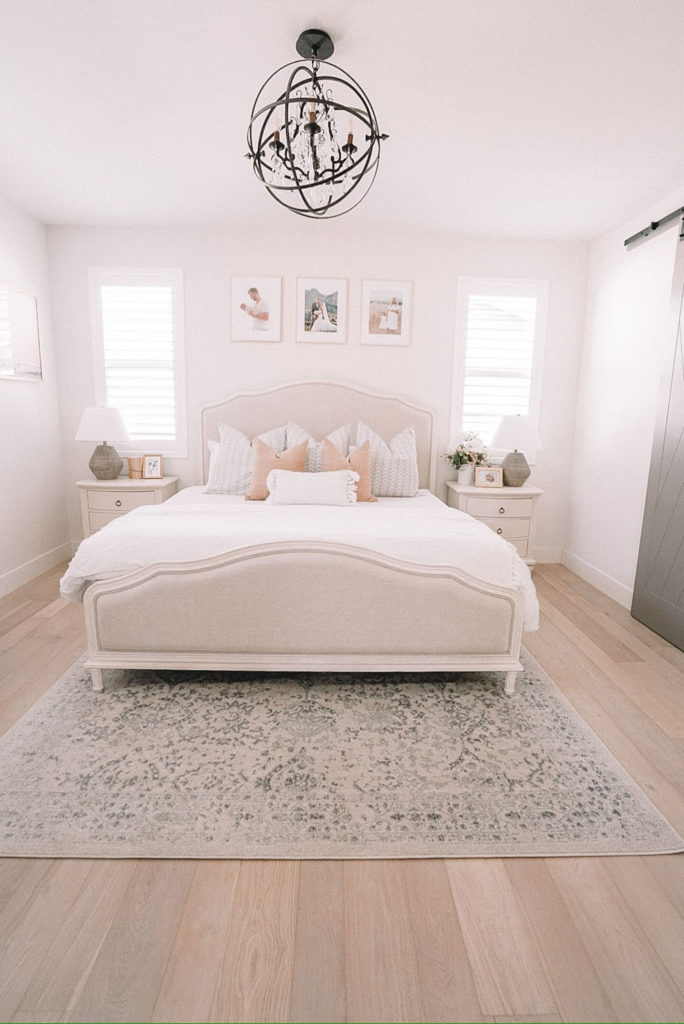
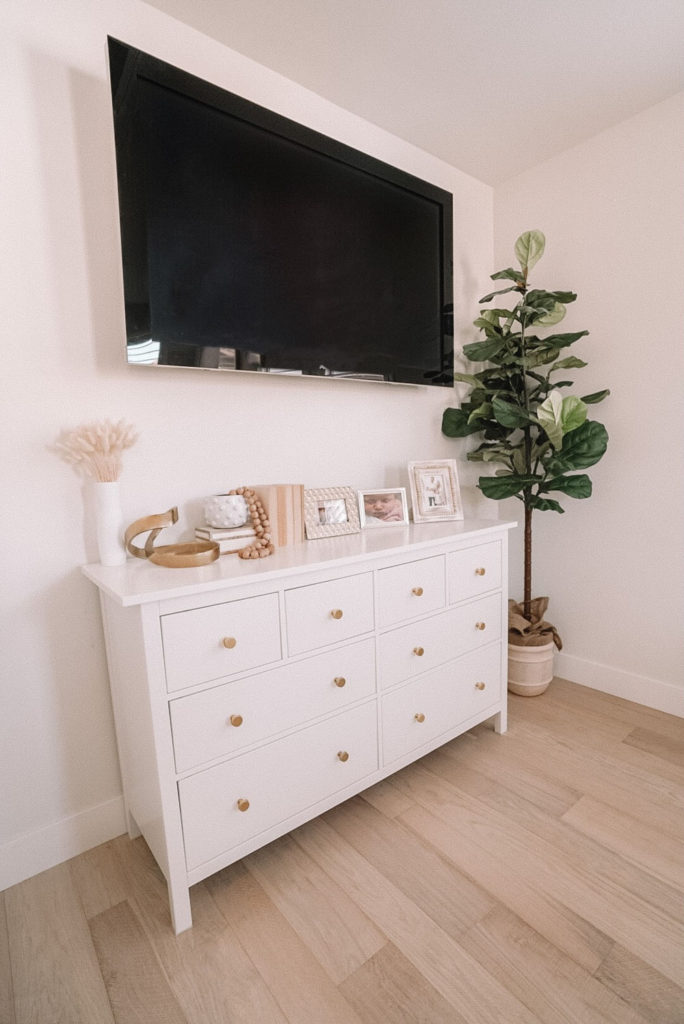
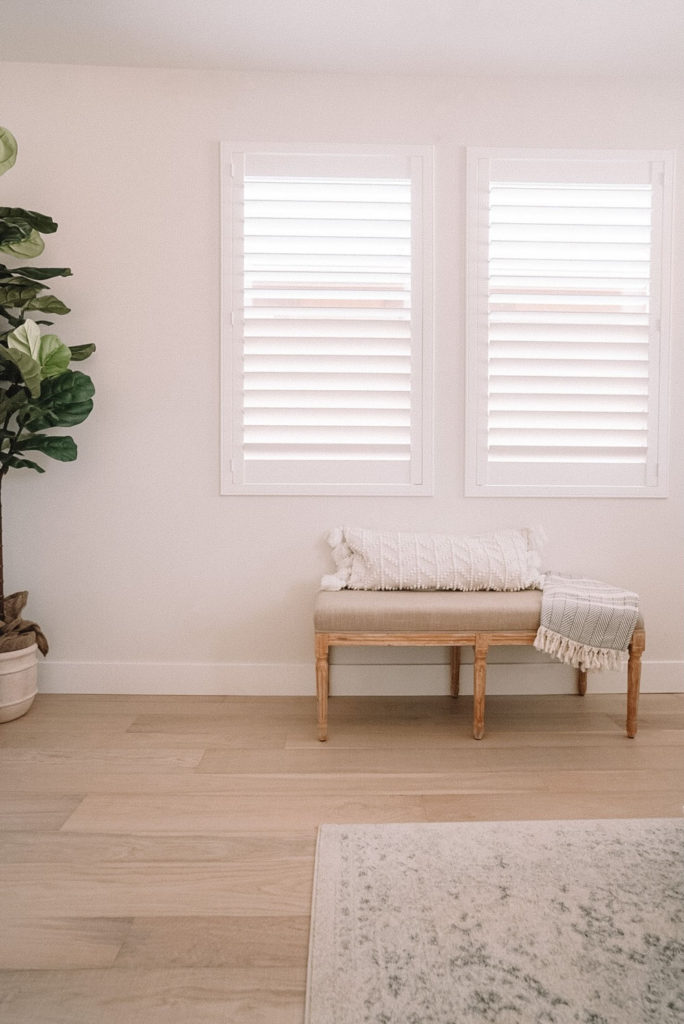
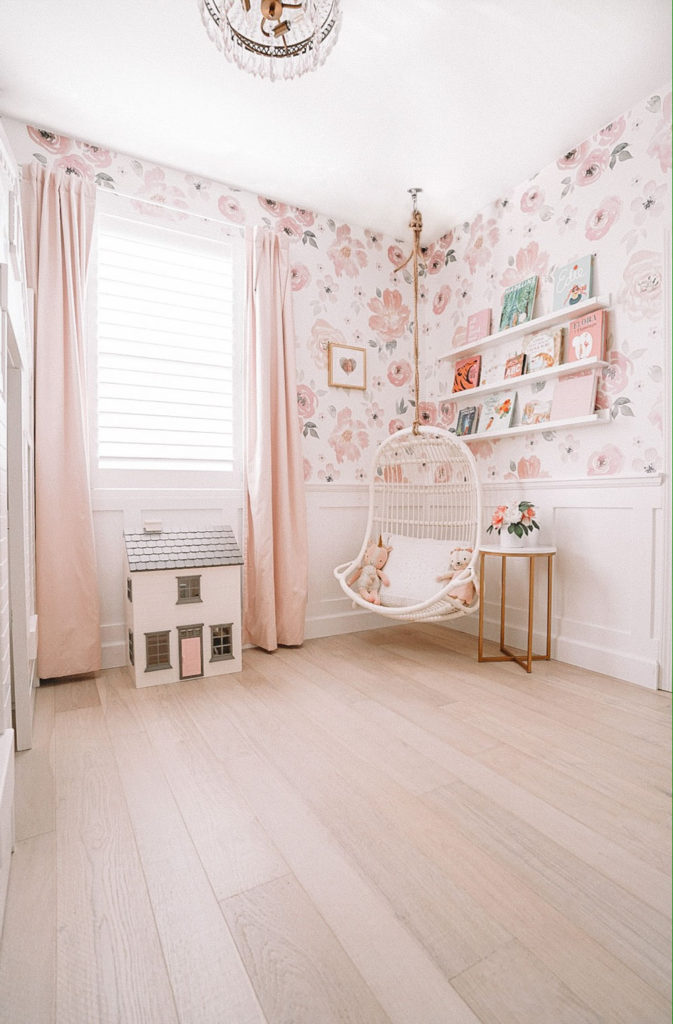
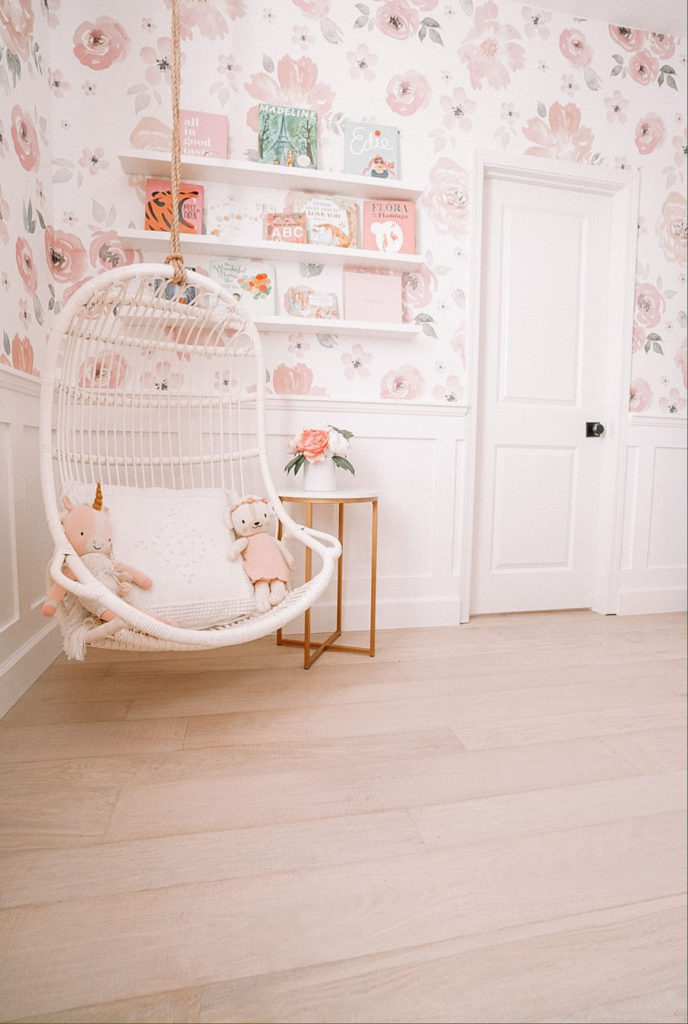
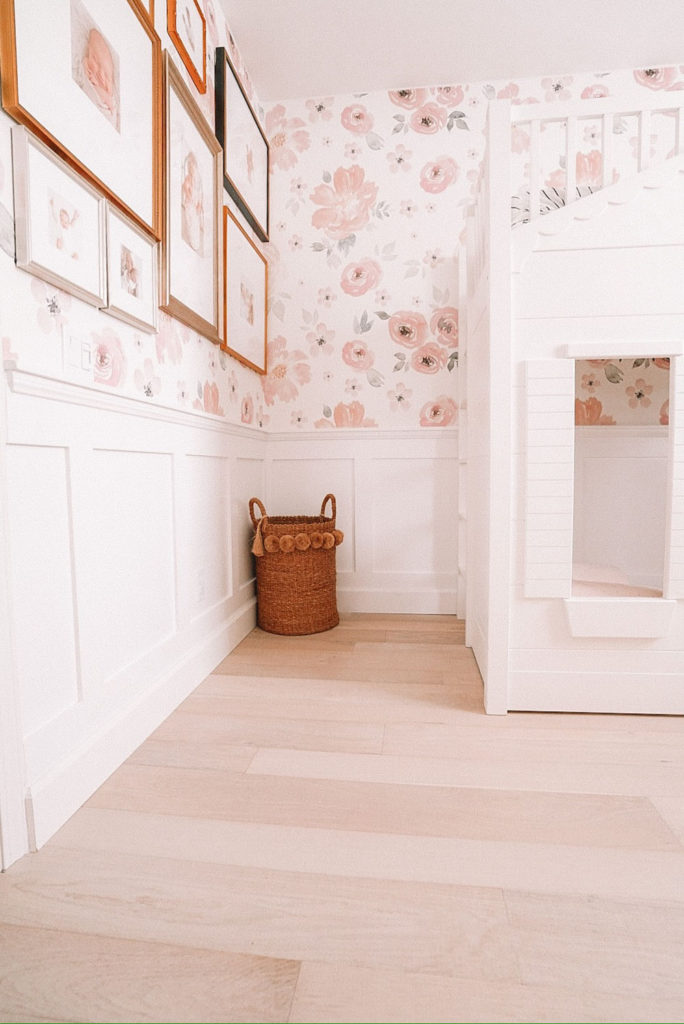
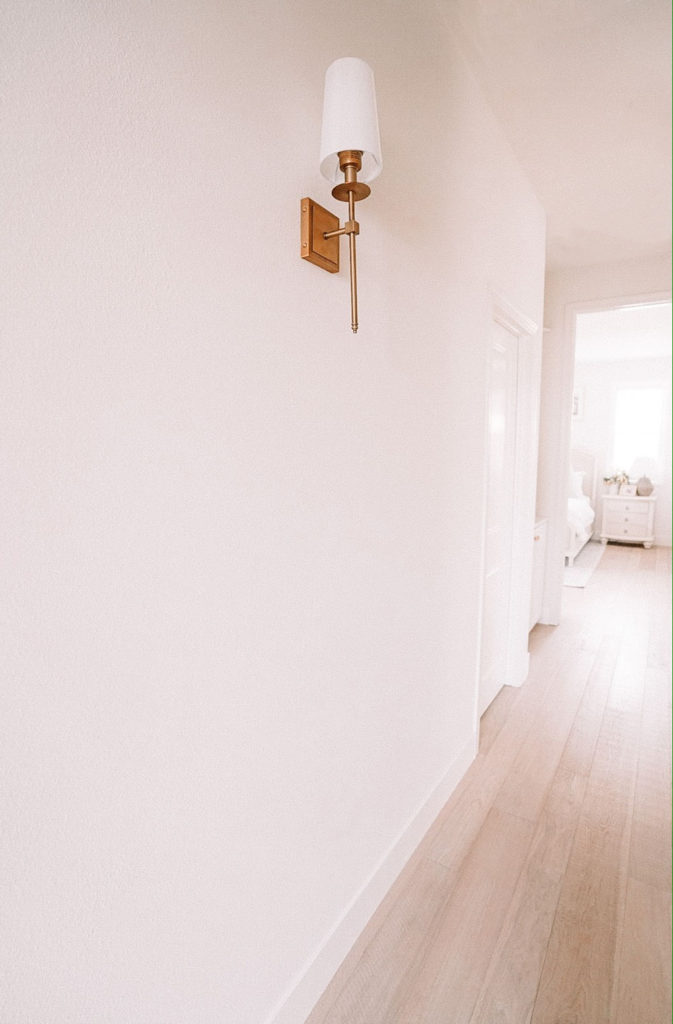
Once we finished our flooring downstairs last year, I honestly could not wait to install wood flooring upstairs as well. I knew it was going to look much better, but was blown away at the final results! It makes the space look much cleaner and really fits well with the style of the house. For my master bedroom, I found this cute Odell Distressed Persian Ivory area rug to go under my bed. It was the perfect addition for the wood flooring and made our room much more cozy!
Thanks for checking out my upstairs flooring reveal and make sure to use this link to order the flooring when you can! Given the times with COVID, you will want to plan ahead and order your flooring well in advance.


Manglik Matrimony
Most Trusted Manglik Matrimonial Site For Hindu, Punjabi, Marathi, Tamil & Bengali Marriage. 100% Verified Profiles. Contact Profiles Directly & Get Married Soon. Manglik Matrimony – JOIN FREE – https://www.mangliks.com/register.php
We are bestTaps Manufacturers have a team of professional engineers. Who are adept in the manufacturing process of taps. All types of Bathroom Taps are manufactured Brass and stainless steel products at highly competitive prices. Our range is highly durable, resistant to hard water, rust resistant.
This turned out so good! I love it!